“Living the dream.” Back when I worked for a marketing research firm in the 2010s, that was the response I got from my boss every time I asked him how he was doing. I was never sure if he was being sarcastic, or trying to fool me or even himself. Whatever the case was, I didn’t believe him, but I genuinely think Ryan Shaughnessy is living his dream — he’s the Ford Mustang Brand Manager.
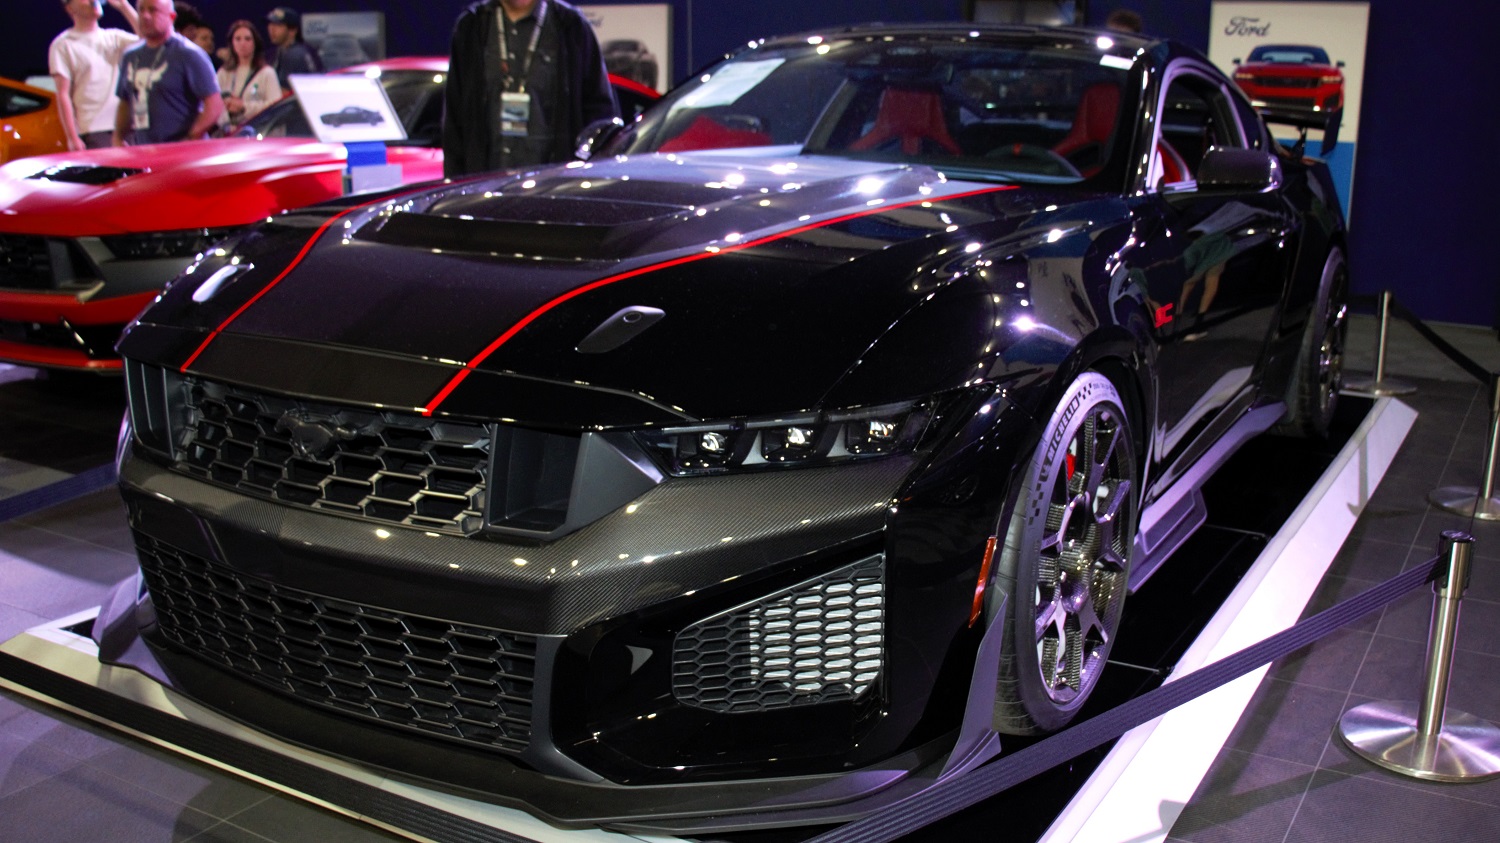
I met up with Shaughnessy in the Ford area at WestWorld of Scottsdale during the Barrett-Jackson 2026 Scottsdale Auction. As people checked out the Mustang RTR and Mustang GTD models on display, we talked about Shaughnessy’s career path and the brand-new supercharged Dark Horse SC, which we told you all about last month. This particular one was VIN 001, which later crossed the block for $1.25 million, all of which benefited Breakthrough T1D, an organization dedicated to making “life-changing breakthroughs to cure, prevent, and treat Type 1 diabetes and its complications.” The new owner will get to spec their Dark Horse SC as they wish.
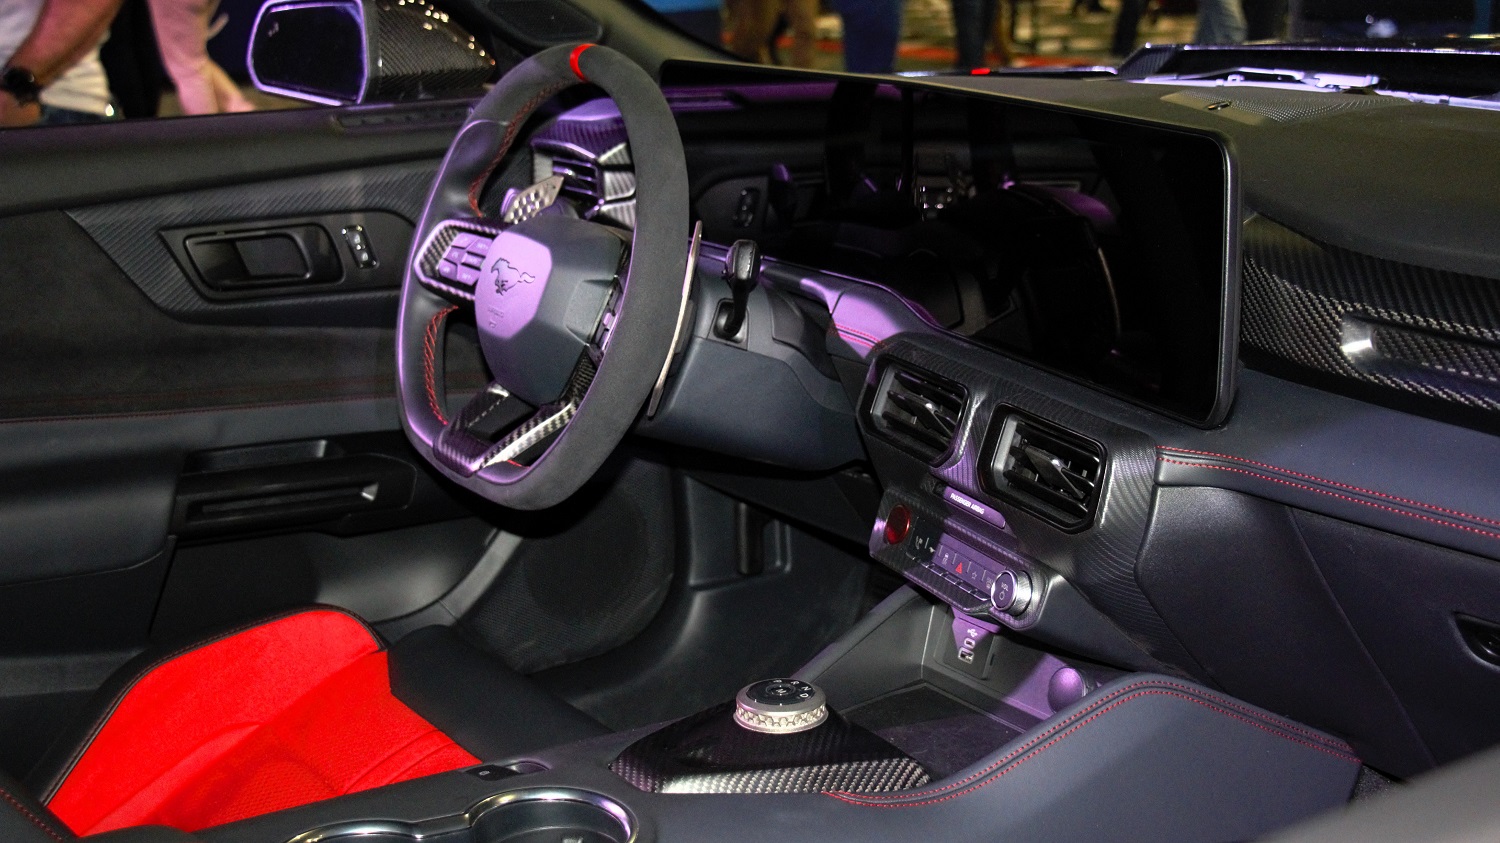
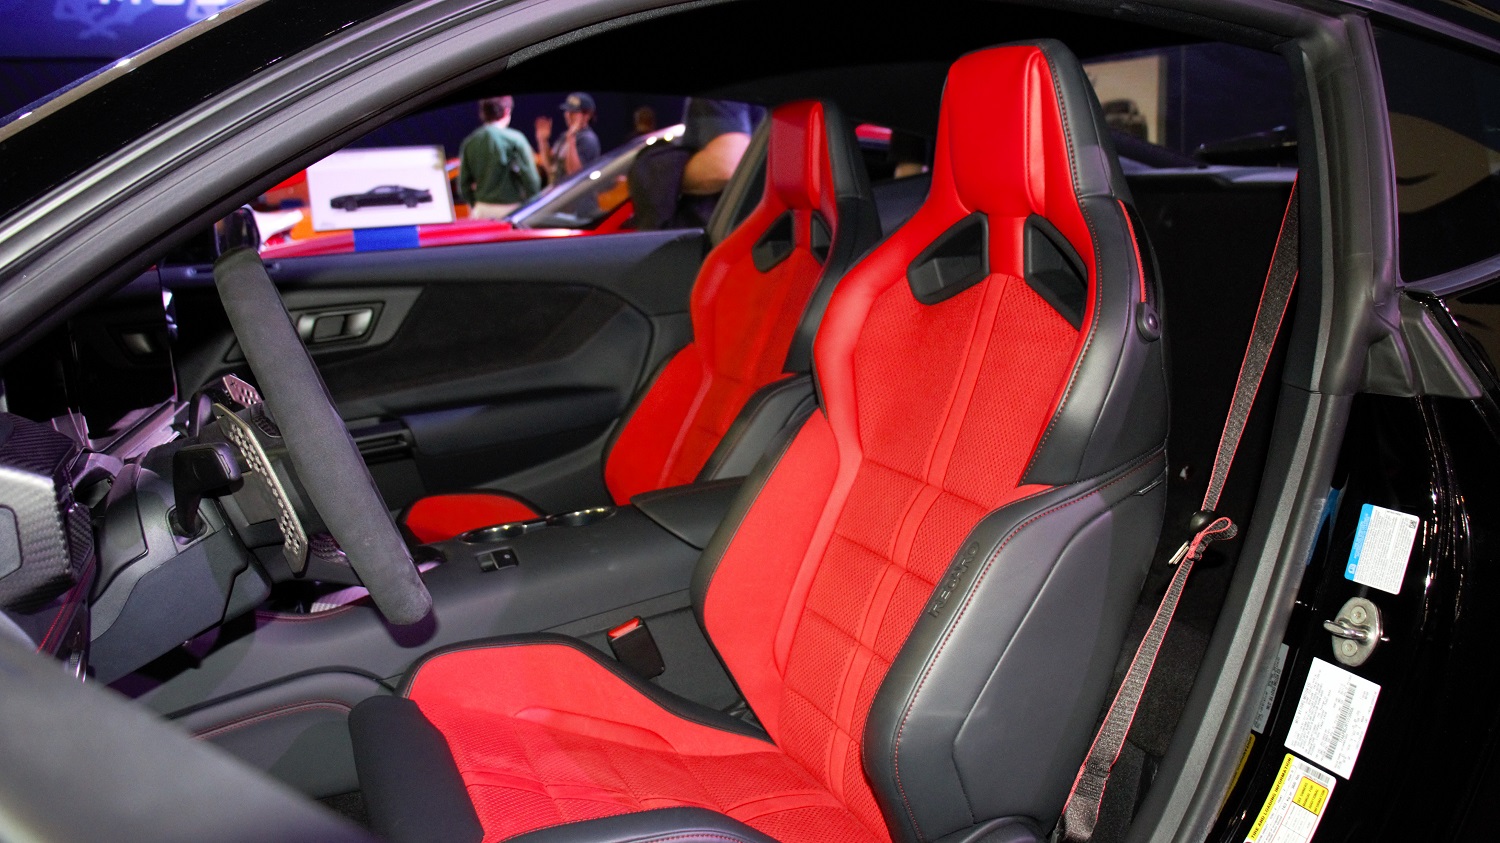
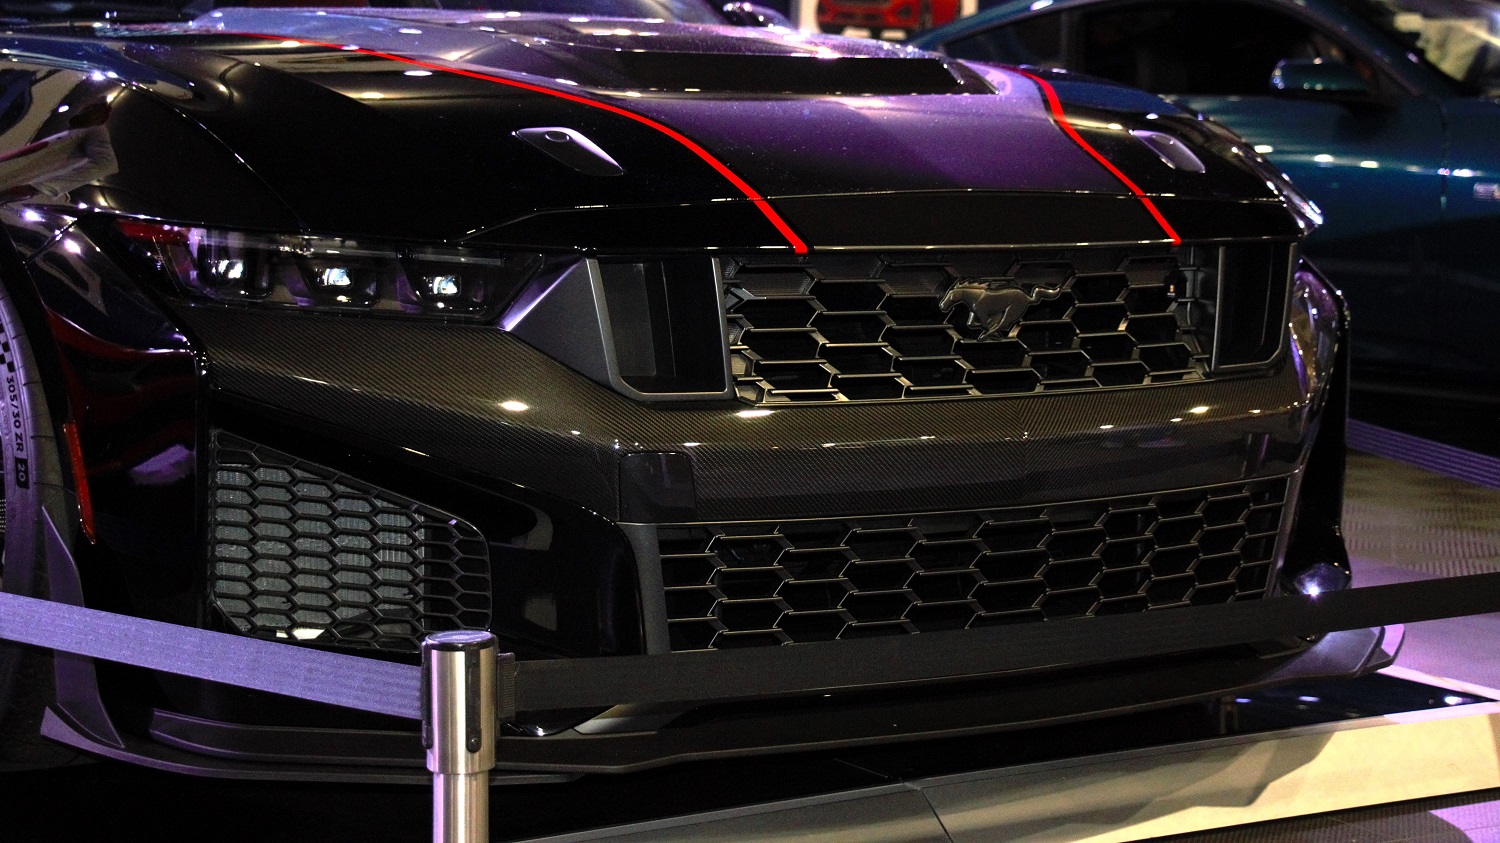
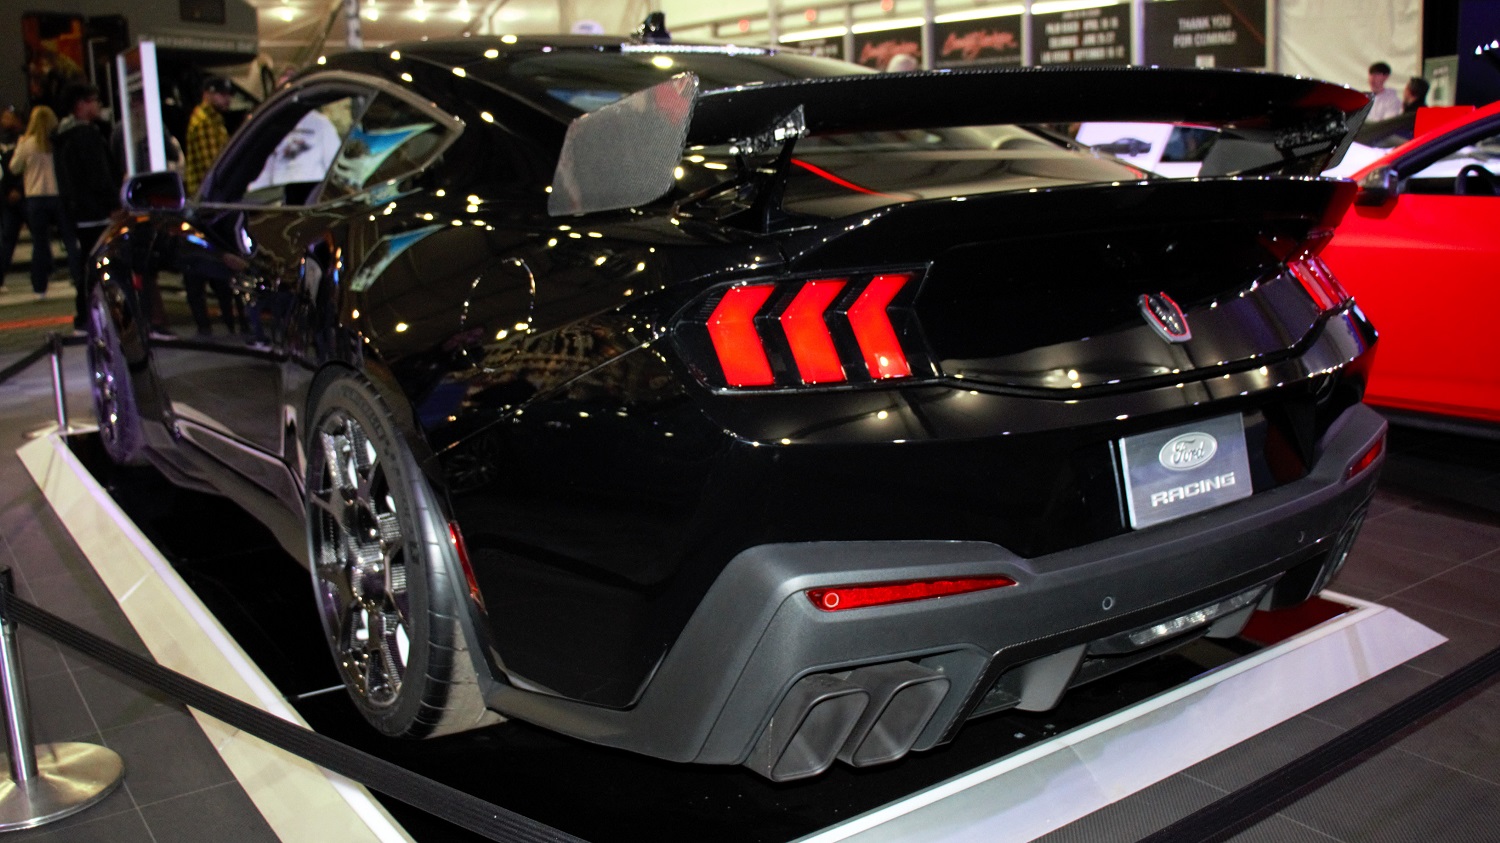
As a 2026-only Track Pack Special Edition, this Dark Horse SC was dressed in Shadow Black (the other available color is Oxford White) and equipped with the Carbon Exterior Package’s carbon fiber mirror caps and front and rear fascias, and Recaro Dinamica and leather seats with Solar Red accents, plus the 3D-printed titanium paddle shifters and shifter dial trim from the Mustang GTD. The Track Pack added carbon-fiber aero, Brembo carbon-ceramic brakes, and carbon-fiber wheels with Michelin Pilot Sport Cup 2 R track tires.
Like many car enthusiasts, Shaughnessy became interested in the Mustang when he was a teenager. A kid in his neighborhood bought an S197 Mustang GT convertible, which led to Shaughnessy driving a Mustang of some sort whenever he could. He scored many more opportunities when he joined Ford in 2020. As the Mustang Product Marketing Manager, Shaughnessy worked with the design, engineering, and color and material teams as well as other departments on the Mustang Dark Horse SC, Mustang RTR, and every other future Mustang through 2031.
Shaughnessy also had a long-range vision for his career: His goal from the start was to become the Mustang Brand Manager. Several months ago, he went through an intense interview process for the position. One day, while he was vacation at the beach, his boss called to say, “I want to congratulate you. You did outstanding in the interview and you got the job.” Shaughnessy immediately pumped his fist in the air in celebration. The excitement hasn’t faded since then; he told me, “This is my dream job. I’m just grateful that I have the opportunity. Every morning, I wake up excited.”
Given that the Chevrolet Camaro is dead and there is currently no V-8 option for the Dodge Charger, I told Shaughnessy that it seems the Mustang is competing with itself. He looks at it differently. “I’d say that we’re upping our game and elevating our competition and taking it to Europe’s elite sports car competitors: Porsche, Mercedes-AMG GT — that’s who we’re going up against with the Dark Horse SC.”
With those rivals in mind, putting the Predator supercharged 5.2-liter V-8 — which you may remember from the S550 Shelby GT500 — under the hood of the Dark Horse SC was the logical choice. Official output figures and acceleration and track times aren’t out yet, but expect them to slot in between those of the 500-horsepower, Coyote V-8-powered Dark Horse and the GTD, which uses an 815-horse version of the SC’s engine.
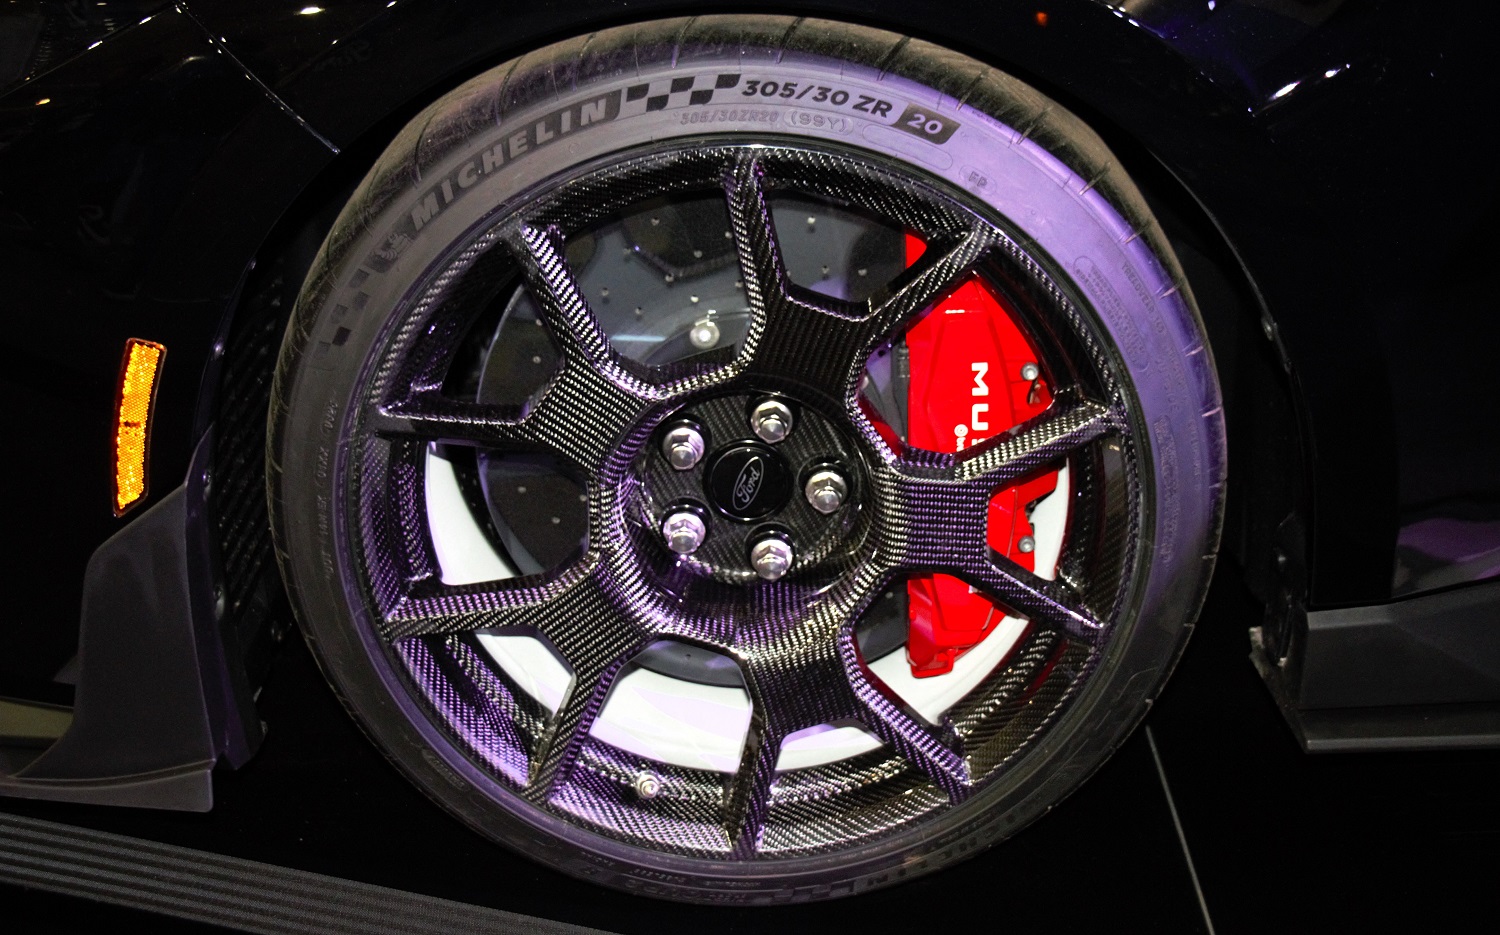
Model lineups are interesting, but I was curious to know the SC’s position in the Mustang family. “This is like the ‘Bad Boy,’” Shaughnessy said, likening it to a rebellious brother. With the Dark Horse SC Track Pack Special Edition, “The goal was to make the most sinister, badass Dark Horse that we could,” which inspired the red calipers for the Brembo carbon-ceramic brakes, fender badging, painted hood stripes, Solar Red seat accents, and red-outlined Dark Horse deck lid badging. The Predator engine definitely fits the image. According to Shaughnessy, “There’s something that happens when you hear this engine. It’s this sort of primal, visceral response that you get. It makes you want to get in the car and drive.”
The Dark Horse SC took countless hours of research, coordination, planning, configuring, and testing, but it was worth the effort. When it was finally a complete car with all of it gaps tightened and its badges on, Shaughnessy was stunned — but not speechless. “Literally, my jaw dropped and I said, ‘Holy ess’” (as a gentleman and a professional, he didn’t use the actual word. That’s okay because I knew exactly what he meant).
Judging by the constant flow of people around the SC, it was obvious that people were interested in it. Shaughnessy had already seen much more activity than I did, so I asked him for the most common response to the car. It isn’t a statement — it’s a question: “What is this?” Of course, many of the people at the auction recognized the SC and knew the available facts about it. But they and all the rest of us outside of Ford HQ don’t know what it’s like to drive. Shaughnessy told me that once people are able to get behind the wheel, they’ll be surprised by the SC’s driving characteristics, the quick shifting of its seven-speed dual-clutch automatic, the calibration of its MagneRide dampers, and the way it handles compared to previous high-performance Mustangs.
The 2026 Mustang Dark Horse SC will be in Ford showrooms this summer. If Shaughnessy gets one of his own, it’ll be in about a year and a half. First, he has to pay for a wedding and a house. In the meantime, he’ll enjoy his Race Red 2024 Mustang GT Premium Fastback. The job he always wanted, true love, a home, and a Mustang? Shaughnessy really is “living the dream.”